Getting started
From a fresh clone to your first scan results in the graph — about ten minutes. Umbryx is self-hosted: everything below runs on your own machine(s). By default nothing leaves them — but integrations you enable (Telegram/Slack notifications, an external AI provider, EE license heartbeat to update.umbryx.pro) send what they need to work; each is opt-in and documented on its own page.
Why teams pick Umbryx
The things no other tool in this niche does in one box:
- Operations run from the platform — not get logged into it. Scans, credential validation and C2 tasking execute through your attacker machines over SSH. Umbryx doesn't watch your terminal; it drives the engagement.
- Tool output becomes state, automatically. An nmap run creates hosts and ports. A validated credential draws an access edge on the graph. A hash found in job output lands in Loot — no copy-paste, no spreadsheet.
- The graph is what you know right now. Network map, attack paths and BloodHound-style tiering rebuild themselves from operational data — not a diagram you maintain by hand.
- Evidence with a chain of custody. Every job output, loot item and secret reveal is audit-logged with actor and timestamp; the audit trail supports HMAC fingerprints and an append-only mirror.
- Secrets treated like secrets. Credentials encrypted per-project
(Fernet DEK hierarchy), viewing them is a separate, audited
permission — a
viewergenuinely cannot see a plaintext. - Playbooks instead of muscle memory. The recon-to-lateral-movement chain you retype every engagement becomes a runnable, schedulable playbook with fan-out across hosts.
- Scope-to-decommission in one place. ROE enforcement, report builder pulling from live project data, and (Enterprise) tear-down with a decommission report proving every host, key and DNS record was destroyed.
1. Requirements
- Docker + Docker Compose (v2)
- 2 CPU / 4 GB RAM is the practical recommendation for a small team (the bare minimum is 2 GB — see What is Umbryx)
- A Linux box you can reach on a port of your choice (default
3000)
Umbryx does not run scans itself — it drives an attacker machine you control over SSH (more in step 5). Community Edition never provisions infrastructure for you; bring your own VPS/VM/container.
2. Configure and start
Edit .env — the values that matter on day one:
| Variable | What to set |
|---|---|
DB_PASSWORD |
strong password for the internal PostgreSQL |
JWT_SECRET |
openssl rand -hex 32 |
ENCRYPTION_KEY |
a Fernet key — python3 -c "from cryptography.fernet import Fernet; print(Fernet.generate_key().decode())" |
ADMIN_PASSWORD |
password of the first admin account |
PORT |
published HTTP port (default 3000) |
With APP_ENV=production the backend refuses to start on missing or
invalid ENCRYPTION_KEY — set it explicitly, don't rely on
auto-generation.
The automated way: install.sh
Prefer not to edit .env by hand? The installer does everything in
one command:
It is an interactive wizard (text UI; falls back to plain prompts on a minimal host) that:
- asks for the database name/user and generates a strong password, the admin credentials, and the published port
- generates all secrets (
JWT_SECRET, a proper FernetENCRYPTION_KEY,WEBHOOK_HMAC_SECRET) — no weak defaults - offers the environment choice (
productionenforces theENCRYPTION_KEYchecks) and, in production, four transport modes: plain HTTP (no TLS), TLS terminated on an external proxy, a self-signed cert right on the platform nginx, or your own certificate (writes the compose override andCOMPOSE_FILEfor you) - verifies image checksums and loads them from the bundle when run in an airgap bundle (no internet needed)
- builds the images, starts the stack and waits for the backend health check, then prints the URL and the admin credentials
Non-interactive automation: UMBRYX_INSTALL_NO_TUI=1 switches the
wizard to plain-text prompts, and --dry-run prints every mutating
command instead of executing it — useful to review what a mode would
do on a real host.
Updating an existing install afterwards is one command too:
./update.sh (timestamped .env + DB-dump backups, :rollback
image tags, health-checked restart — see
Maintenance).
3. First login
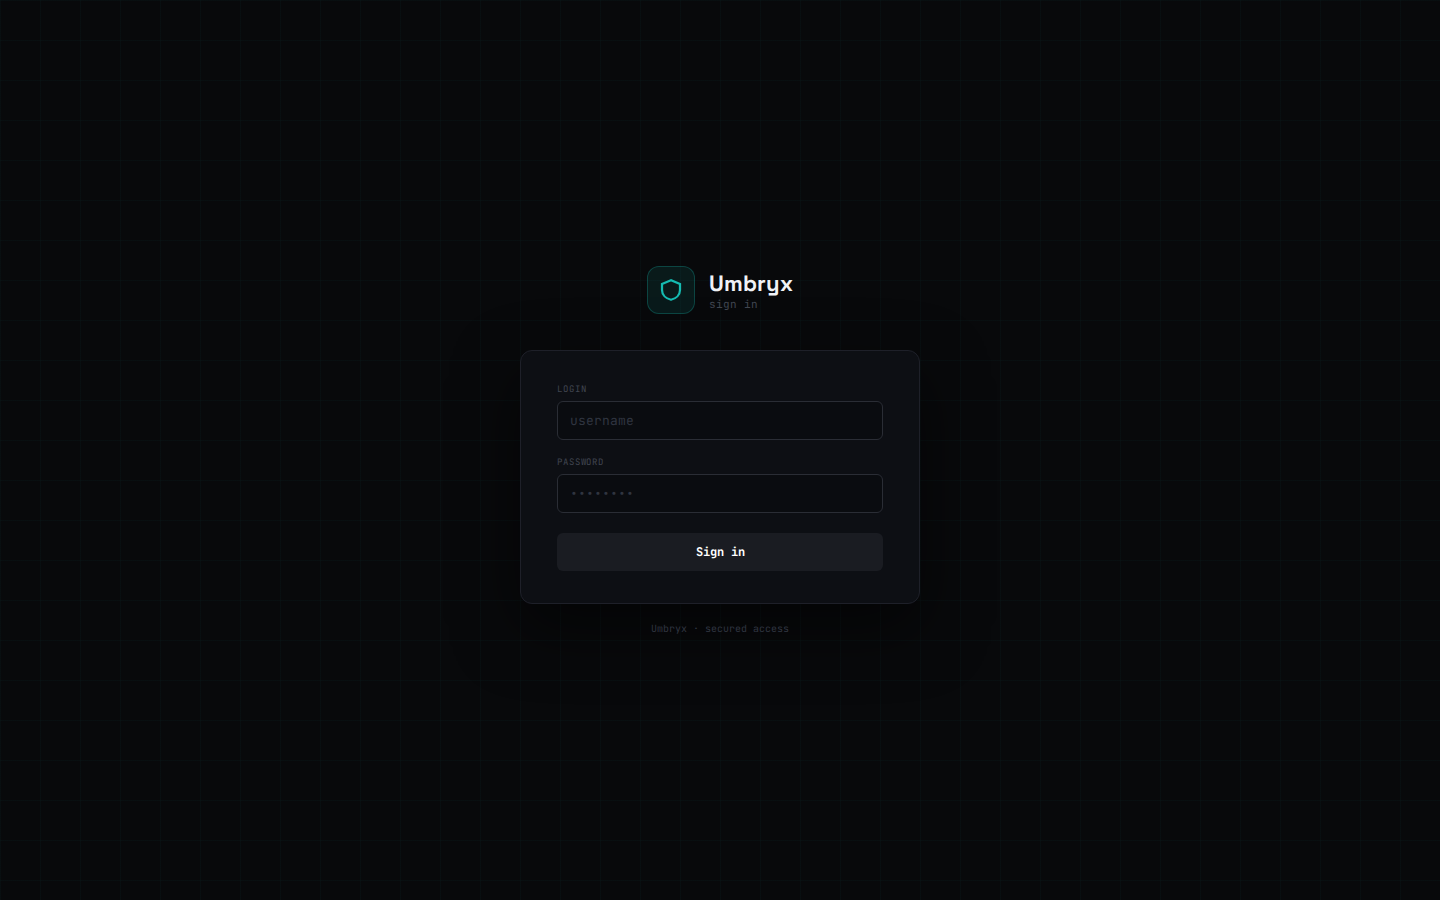
Open http://<host>:3000. On a fresh database the login screen offers
to create the administrator account (set SETUP_TOKEN in .env
beforehand if you want the first-run screen gated). Log in as admin.
4. Create a project
Projects hold everything: scope, hosts, credentials, findings, loot, reports.
- Sidebar → New project, give it a name
- Add the engagement scope (CIDRs/hosts) under Scope — scans stay inside it
- Invite teammates under Members with a project role (
owner,admin,editor,operator,analyst,viewer, … — see Access control). Community Edition allows up to 5 members and keeps a 90-day audit trail.
You are the project owner automatically.
5. Connect your attacker machine
Scans and tooling run on a machine you control, over SSH — the platform never executes tools locally.
- Prepare the box: SSH reachable, and the tools you plan to use
installed (
nmap,nuclei,netexec,httpx,ffuf,impacket, …) - In Umbryx: Infra → Connections → add an SSH executor target
- Fill host, port, credentials (password or key) — optional jump-host and SOCKS proxy are configured on the same panel
Credentials are encrypted at rest. Use a dedicated low-privilege account on the attacker box; everything the platform runs there is attributed in the audit trail.
6. Run your first scan
- Recon → Scans → New scan → nmap
- Target: a host/CIDR from your scope, pick an intensity profile
- Run — the job appears in Jobs with live output
When it finishes, the result is not just a log: hosts and open ports land in Hosts, edges appear on the Network map, and the timeline records who ran what.
From here the usual flow:
- Credentials → Add or import from tool output; validate them against hosts (SMB/WinRM/SSH/…) — successful validations draw access edges on the graph
- Findings — draft from evidence; reviewers can approve them
- Report — build the client-facing document from real project data
7. Keep it updated
The supported path is one command — ./update.sh (timestamped backups,
rollback image tags, health-checked restart). The quick alternative for
those who know why they're skipping the safety net:
Releases that transform existing data are marked ⚠ DATA in the
release notes — back up data/ and the database before upgrading to
one of those.
Where to go next
- What is Umbryx — the full product tour
- Attacker SSH — executor targets in depth
- C2 integrations — Adaptix / Mythic / Sliver
- Security — encryption, RBAC and the pre-deployment checklist